Ford Fusion: Exterior Trim and Ornamentation / Rear Door Upper Moulding. Removal and Installation
Ford Fusion 2013–2020 Service Manual / Body and Paint / Body and Paint / Exterior Trim and Ornamentation / Rear Door Upper Moulding. Removal and Installation
Removal
NOTE: LH side shown, RH side similar.
NOTE: Removal steps in this procedure may contain installation details.
-
NOTICE: Before beginning any service procedure in this section, refer to Safety Warnings in section 100-00 General Information. Failure to follow this instruction may result in serious personal injury.
Refer to: Health and Safety Precautions (100-00 General Information, Description and Operation).
-
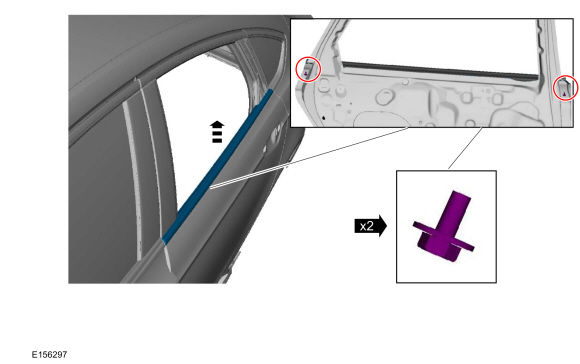
Remove the bolt from the front and the rear of the door moulding and remove the moulding.
Torque: 12 lb.in (1.3 Nm)
 |
-
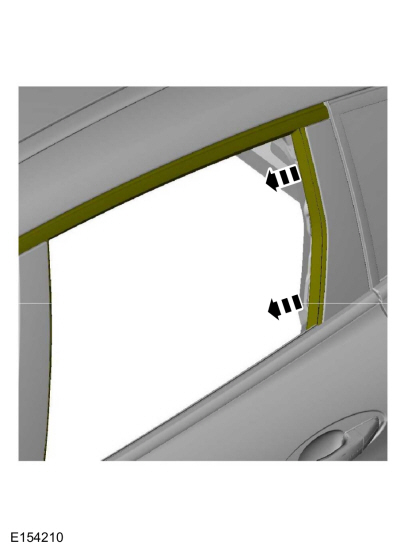
Pull C-pillar glass run leg out of the U-channel of the upper moulding.
 |
-
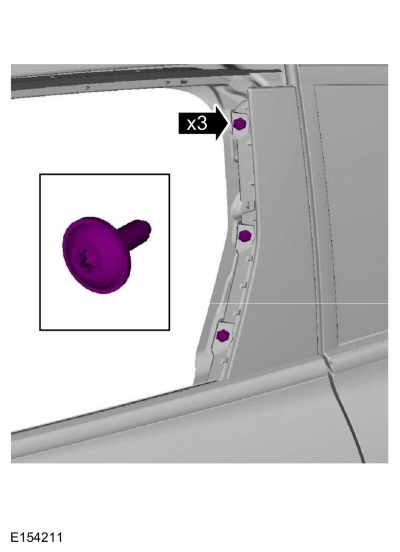
Remove the screws.
Torque: 17 lb.in (1.9 Nm)
 |
-
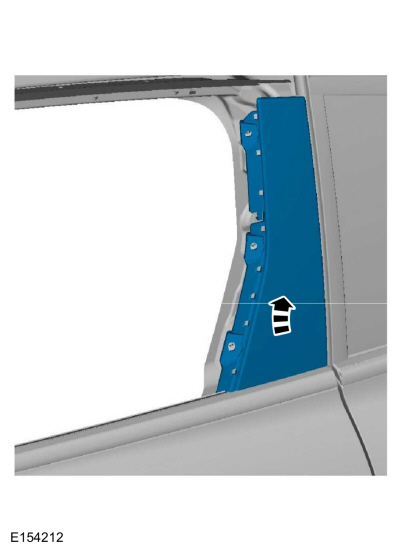
Remove the rear door upper moulding.
 |
Installation
-
To install, reverse the removal procedure.
 Luggage Compartment Lid Moulding. Removal and Installation
Special Tool(s) /
General Equipment
Flat Headed Screw Driver
Interior Trim Remover
Removal
NOTE:
Removal steps in this procedure may contain installation details...
 Rear Spoiler. Removal and Installation
Removal
NOTE:
Removal steps in this procedure may include installation details.
WARNING:
Before beginning any service procedure in this
section, REFER to Safety Warnings in section 100-00 General Information...
Other information:
Ford Fusion 2013–2020 Service Manual: Front Bumper. Removal and Installation
Removal All vehicles NOTE: Removal steps in this procedure may contain installation details. Remove the front bumper cover. Refer to: Front Bumper Cover (501-19 Bumpers, Removal and Installation). Remove the bolts and the lower radiator support...
Ford Fusion 2013–2020 Owners Manual: Getting the Services You Need
Warranty repairs to your vehicle must be performed by an authorized dealer. While any authorized dealer handling your vehicle line will provide warranty service, we recommend you return to your selling authorized dealer who wants to ensure your continued satisfaction...
Categories
- Manuals Home
- 2nd Generation Ford Fusion Owners Manual
- 2nd Generation Ford Fusion Service Manual
- Cylinder Head. Removal and Installation
- Engine
- Electronic Parking Brake (EPB) Service Mode Activation and Deactivation. General Procedures
- New on site
- Most important about car
Direction Indicators. Interior Lamps
Direction Indicators
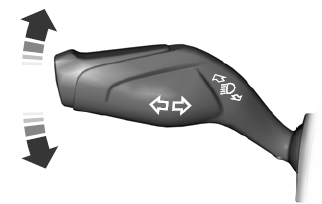
Push the lever up or down to use the direction indicators.
Copyright © 2026 www.fofusion2.com