Ford Fusion: Roof Sheet Metal Repairs / Roof Panel - Vehicles With: Roof Opening Panel. Removal and Installation
Special Tool(s) /
General Equipment
| Resistance Spotwelding Equipment |
| Spherical Cutter |
| Grinder |
| Spot Weld Drill Bit |
| Locking Pliers |
Materials
| Name |
Specification |
Metal Bonding Adhesive
TA-1, TA-1-B, 3M™ 08115, LORD Fusor® 108B |
-
|
Seam Sealer
TA-2-B, 3M™ 08308, LORD Fusor® 803DTM |
-
|
Removal
-
NOTICE:
Before beginning any service procedure in this
section, refer to Safety Warnings in section 100-00 General Information.
Failure to follow this instruction may result in serious personal
injury.
NOTICE:
Adequately protect all glass, exterior finish and
interior trim from contamination during entire repair procedure.
Remove the following items:
-
Refer to: Health and Safety Precautions (100-00 General Information, Description and Operation).
-
Depower the SRS.
Refer to: Supplemental Restraint System (SRS) Depowering and Repowering (501-20B Supplemental Restraint System, General Procedures).
-
Remove the headliner.
Refer to: Headliner (501-05 Interior Trim and Ornamentation, Removal and Installation).
-
Remove the side air curtains.
Refer to: Side Curtain Airbag (501-20B Supplemental Restraint System, Removal and Installation).
-
Remove the fixed glass.
Refer to: Fixed Glass (501-11 Glass, Frames and Mechanisms, General Procedures).
Refer to: Fixed Glass (501-11 Glass, Frames and Mechanisms, General Procedures).
Refer to: Fixed Glass (501-11 Glass, Frames and Mechanisms, General Procedures).
-
Remove the audio unit antenna.
Refer to: Audio Unit Antenna (415-00 Information and
Entertainment System - General Information - Vehicles With:
AM/FM/CD/SYNC/Sony Audio System)
.
Refer to: Audio Unit Antenna (415-00 Information and
Entertainment System - General Information - Vehicles With:
AM/FM/CD/SYNC)
.
Refer to: Audio Unit Antenna (415-00 Information and Entertainment System - General Information - Vehicles With: SYNC 3, Removal and Installation).
-
Remove the roof opening panel frame.
Refer to: Roof Opening Panel Frame (501-17 Roof Opening Panel, Removal and Installation).
-
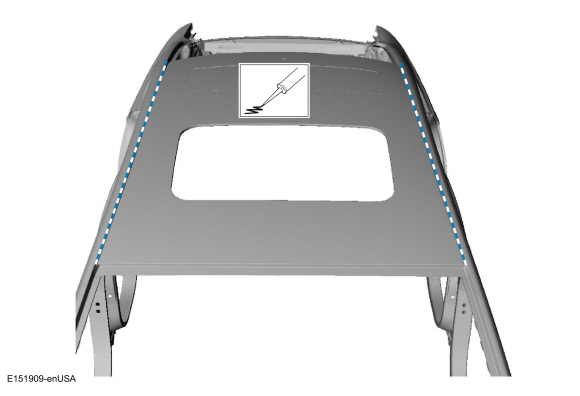
NOTE:
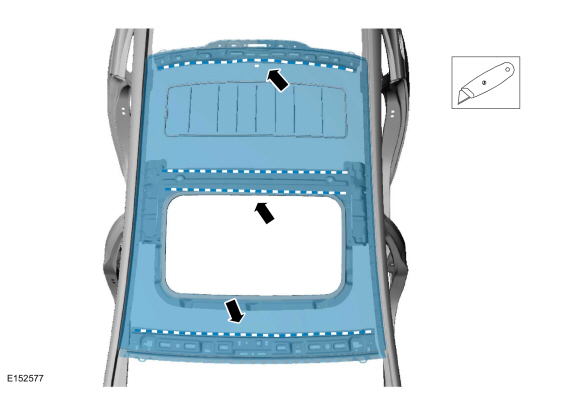
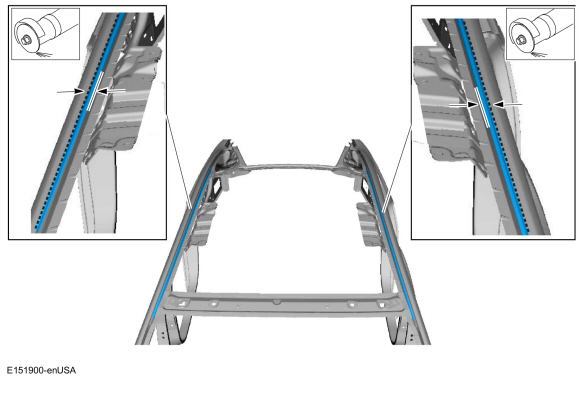
Cut the outer panel only.
Carefully cut the the inner edge of the roof panel ditch on each side.
Use the General Equipment: Spherical Cutter
-
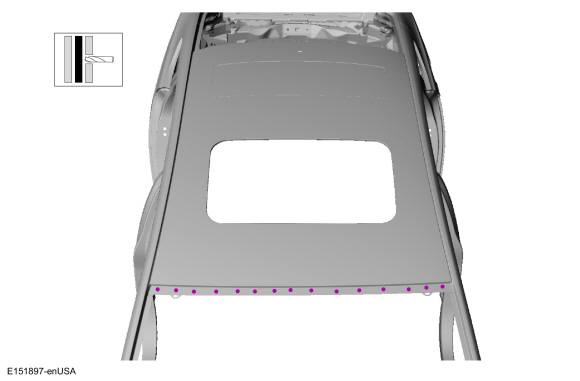
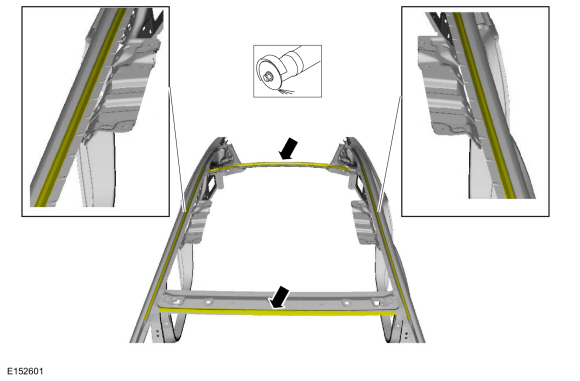
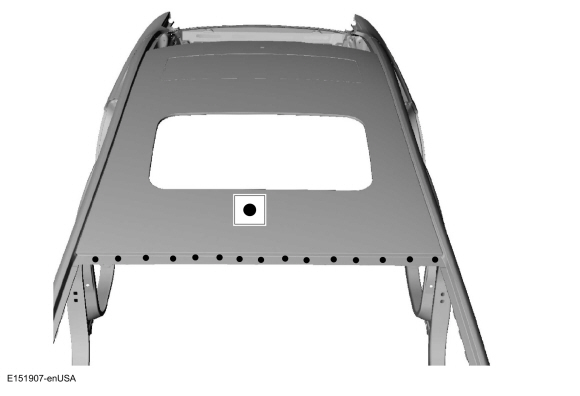
Remove the spot welds at the windshield opening.
Use the General Equipment: Spot Weld Drill Bit
-
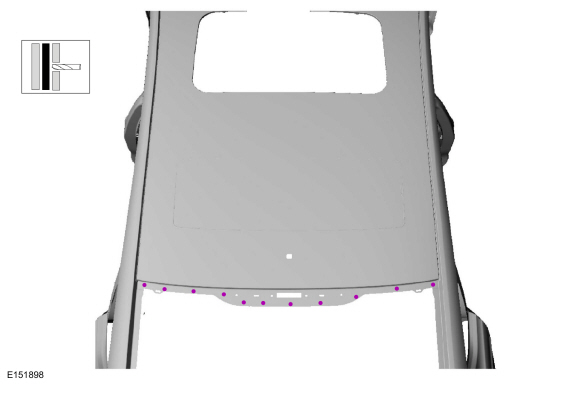
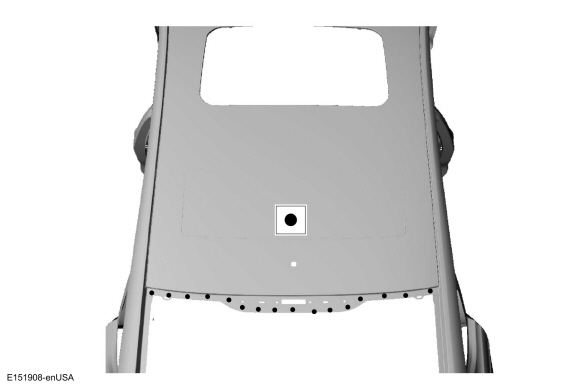
Remove the spot welds at the rear window glass opening area.
Use the General Equipment: Spot Weld Drill Bit
-
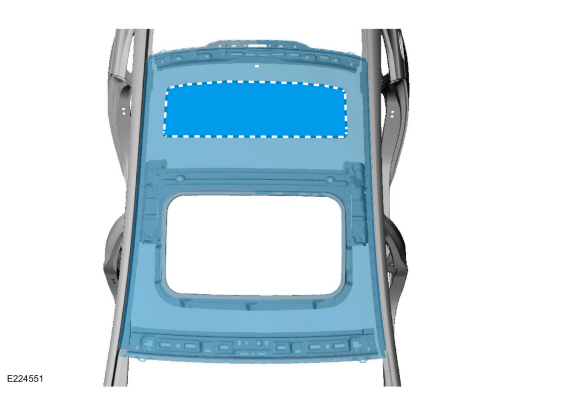
NOTE:
Leave as much NVH foam as possible intact on the roof bows
Separate the roof panel from the roof reinforcements.
-
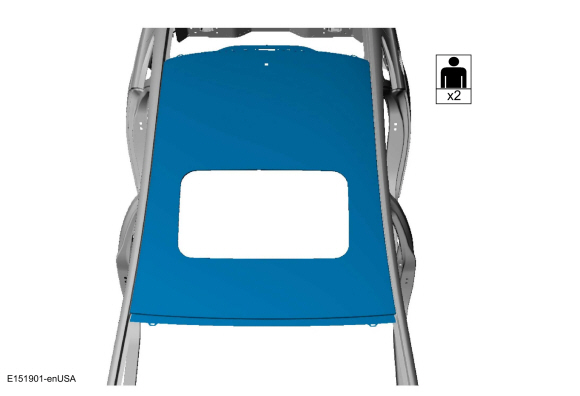
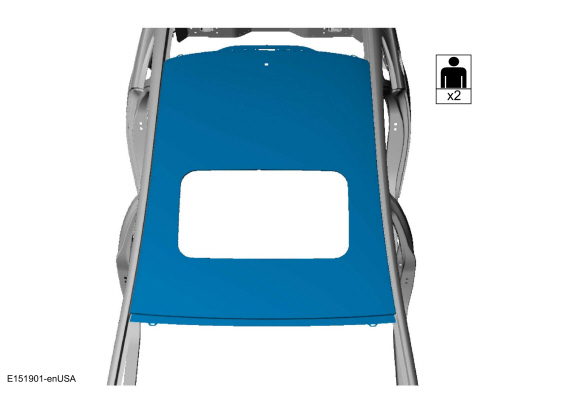
With the help of an assistant, remove the roof panel.
-
Remove the remaining portion of the outer roof panel flange.
Use the General Equipment: Grinder
-
Clean area and remove any remaining residue.
Use the General Equipment: Grinder
Installation
-
Abrade flange roof panel mating area.
Use the General Equipment: Grinder
-
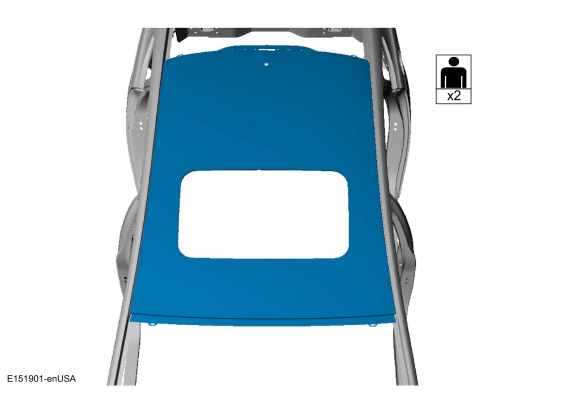
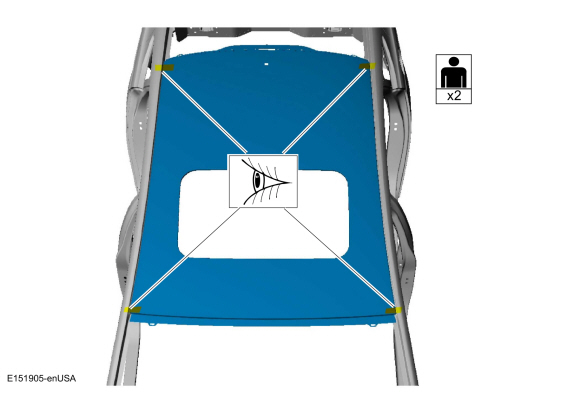
With the help of an assistant, install the roof panel to the vehicle.
-
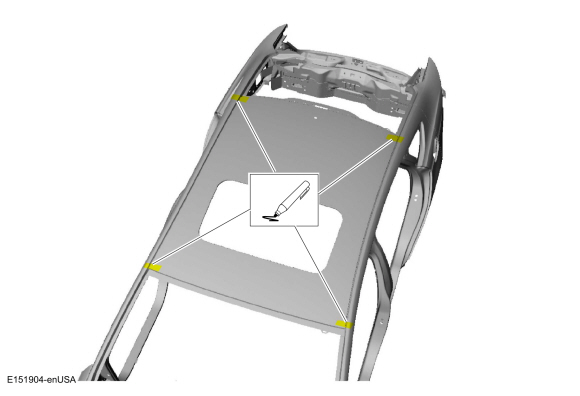
Properly align and index mark the roof panel to the vehicle.
-
With the help of an assistant, remove the roof panel.
-
Abrade flange area of replacement roof panel.
-
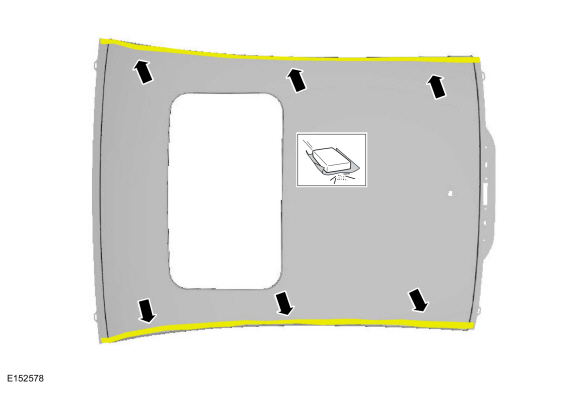
On Both Sides: Apply adhesive the entire length of the roof ditch channel.
Material: Metal Bonding Adhesive
/ TA-1, TA-1-B, 3M™ 08115, LORD Fusor® 108B
-
NOTE:
Do not lift the panel from the body once installed.
If the panel requires repositioning, slide the panel to correct
alignment location.
NOTE:
To assure complete bonding, check all locations for
complete adhesive contact. Add additional adhesive as necessary.
With the help of an assistant, install and align the roof outer panel.
-
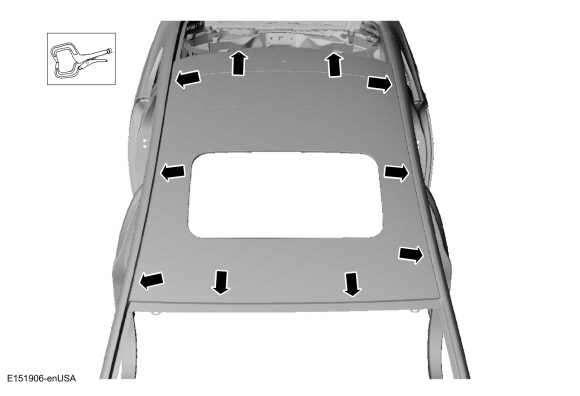
Tightly clamp (without damaging) the roof outer panel.
Use the General Equipment: Locking Pliers
-
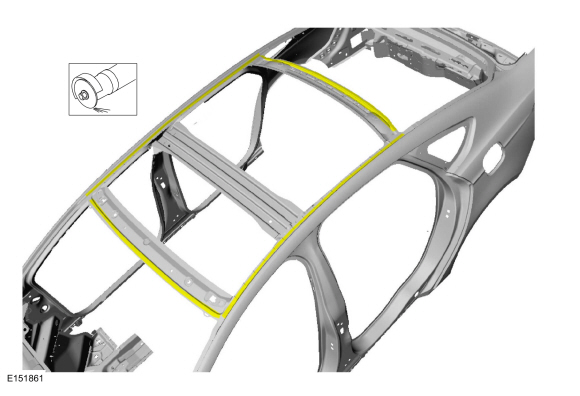
Resistance spot weld the windshield opening flange.
Use the General Equipment: Resistance Spotwelding Equipment
-
Resistance spot weld at the rear window glass opening area.
Use the General Equipment: Resistance Spotwelding Equipment
-
Install NVH pads.
-
Apply seam sealer.
Material: Seam Sealer
/ TA-2-B, 3M™ 08308, LORD Fusor® 803DTM
-
Refinish the roof panel using a Ford approved paint system.
-
Install the following items:
-
Install the roof opening panel frame.
Refer to: Roof Opening Panel Frame (501-17 Roof Opening Panel, Removal and Installation).
-
Install the audio unit antenna.
Refer to: Audio Unit Antenna (415-00 Information and
Entertainment System - General Information - Vehicles With:
AM/FM/CD/SYNC/Sony Audio System)
.
Refer to: Audio Unit Antenna (415-00 Information and
Entertainment System - General Information - Vehicles With:
AM/FM/CD/SYNC)
.
Refer to: Audio Unit Antenna (415-00 Information and Entertainment System - General Information - Vehicles With: SYNC 3, Removal and Installation).
-
Install the windshield and rear window glass.
Refer to: Fixed Glass (501-11 Glass, Frames and Mechanisms, General Procedures).
-
Install the side air curtains.
Refer to: Side Curtain Airbag (501-20B Supplemental Restraint System, Removal and Installation).
-
Install the headliner.
Refer to: Headliner (501-05 Interior Trim and Ornamentation, Removal and Installation).
-
Repower the SRS.
Refer to: Supplemental Restraint System (SRS) Depowering and Repowering (501-20B Supplemental Restraint System, General Procedures).
Special Tool(s) /
General Equipment
Resistance Spotwelding Equipment
Spot Weld Drill Bit
Locking Pliers
Removal
NOTICE:
Battery electric vehicle (BEV), hybrid electric vehicle
(HEV) and plug-in hybrid electric vehicle (PHEV) contain a high-voltage
battery...
Other information:
Removal
NOTE:
Removal steps in this procedure may contain installation details.
Remove the EVAP canister.
Refer to: Evaporative Emission Canister (303-13A Evaporative Emissions - 1.5L EcoBoost (118kW/160PS) – I4, Removal and Installation)...
Special Tool(s) /
General Equipment
Flat-Bladed Screwdriver
Removal
NOTE:
Removal steps in this procedure may contain installation details.
Open the luggage compartment lid.
Position aside the luggage compartment lid pull handle cover...
 Roof Rear Frame. Removal and Installation