
Ford Fusion: Front End Sheet Metal Repairs / Front Side Member Extension. Removal and Installation
Ford Fusion 2013–2020 Service Manual / Body and Paint / Body and Paint / Front End Sheet Metal Repairs / Front Side Member Extension. Removal and Installation
Removal
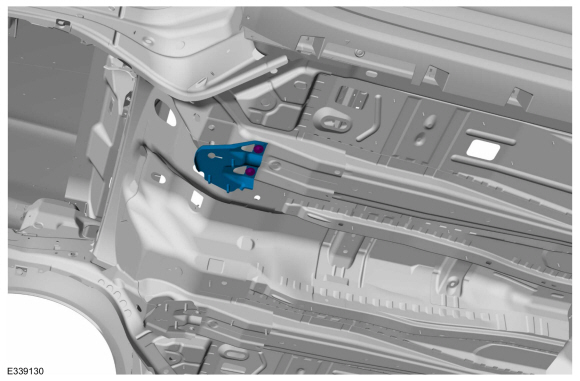
NOTE: Left hand (LH) side shown, right hand (RH) side similar.
-
Remove the underbody shields.
-
Remove the front crossmember.
Refer to: Front Crossmember (501-27 Front End Sheet Metal Repairs, Removal and Installation).
-
Remove the fasteners and side member extension.
 |
Installation
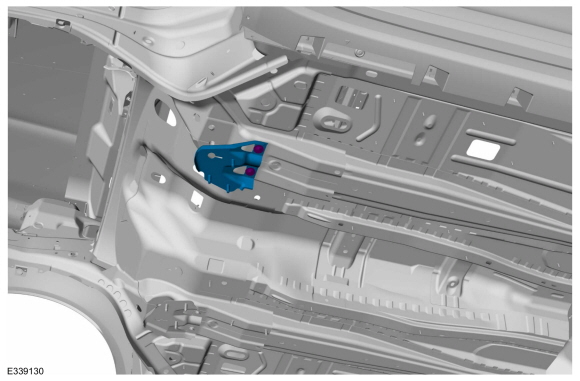
NOTE: Left hand (LH) side shown, right hand (RH) side similar.
-
NOTE: Install and hand tighten all fasteners before tightening to specification.
Install the side member extension and fasteners.
Torque: 35 lb.ft (47 Nm)
 |
-
Install the front crossmember.
Refer to: Front Crossmember (501-27 Front End Sheet Metal Repairs, Removal and Installation).
-
Install the underbody shields.
 Front Crossmember. Removal and Installation
Removal
Remove the underbody shields.
Remove the fasteners and the front crossmember.
Installation
NOTE:
Install and hand tighten all fasteners before tightening to specification...
 Front Side Member and Fender Apron Panel LH. Removal and Installation
Special Tool(s) /
General Equipment
Resistance Spotwelding Equipment
Hot Air Gun
Air Body Saw
8 mm Drill Bit
MIG/MAG Welding Equipment
Spot Weld Drill Bit
Materials
Name
Specification
Metal Bonding AdhesiveTA-1, TA-1-B, 3M™ 08115, LORD Fusor® 108B
-
Seam SealerTA-2-B, 3M™ 08308, LORD Fusor® 803DTM
-
Removal
&nbs..
Other information:
Ford Fusion 2013–2020 Service Manual: Fuel Rail. Removal and Installation
Special Tool(s) / General Equipment 303-1567Sizer, Teflon SealTKIT-2010C-FLM 307-005 (T59L-100-B) Slide Hammer 310-205Fuel Injector Brush 310-206Remover, Fuel InjectorTKIT-2009A-FLM 310-206-01Adapter for 310-206 310-207Installer, Fuel Injector Seal AssemblyTKIT-2009A-FLM Removal Release the fuel system pressure. Refer to: Fuel System Pr..
Ford Fusion 2013–2020 Service Manual: Specifications
General Specifications Item Specification Ball Joint Deflection Lower 0.0 mm (0.0 in) - 0.2 mm (0.0079 in) Ride Height Front 62.9 mm (2.476 in) ± 12 mm (0.472 in) Rear 32.3 mm (1.272 in) ± 10 mm (0.394 in) Alignment Specifications Item ..
Categories
- Manuals Home
- 2nd Generation Ford Fusion Owners Manual
- 2nd Generation Ford Fusion Service Manual
- Pre-Collision Assist (IF EQUIPPED)
- Traction Control
- Automatic Transmission - 6-Speed Automatic Transmission – 6F35
- New on site
- Most important about car
Fuel Quality
Choosing the Right Fuel
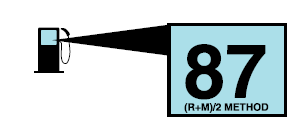
Your vehicle is designed to operate on regular unleaded gasoline with a minimum pump (R+M)/2 octane rating of 87.

Copyright © 2026 www.fofusion2.com